How to Easily Repair a Car Tyre Puncture: Step-by-Step Guide for Drivers
Dealing with a car tyre puncture can be a daunting experience for many drivers, but understanding the process of car tyre puncture repair can significantly ease this anxiety. In a world where mobility is crucial, being prepared to handle such an incident not only saves time but also reduces the stress that comes with unexpected vehicle issues. This guide aims to provide a simple, step-by-step approach to effectively repair a punctured tyre, empowering drivers to regain control and continue their journey with confidence.
With the right tools and a little know-how, repairing a tyre is a manageable task. This comprehensive guide will walk you through everything from identifying the puncture to the final touches of ensuring your tyre is safe for the road again. By mastering the art of car tyre puncture repair, you not only save on costly professional services but also gain valuable skills that can enhance your independence as a driver. Whether you’re a seasoned car owner or a new driver, this article equips you with the essential techniques to tackle one of the most common roadside challenges.

Essential Tools Every Driver Needs for Puncture Repair: A Comprehensive List
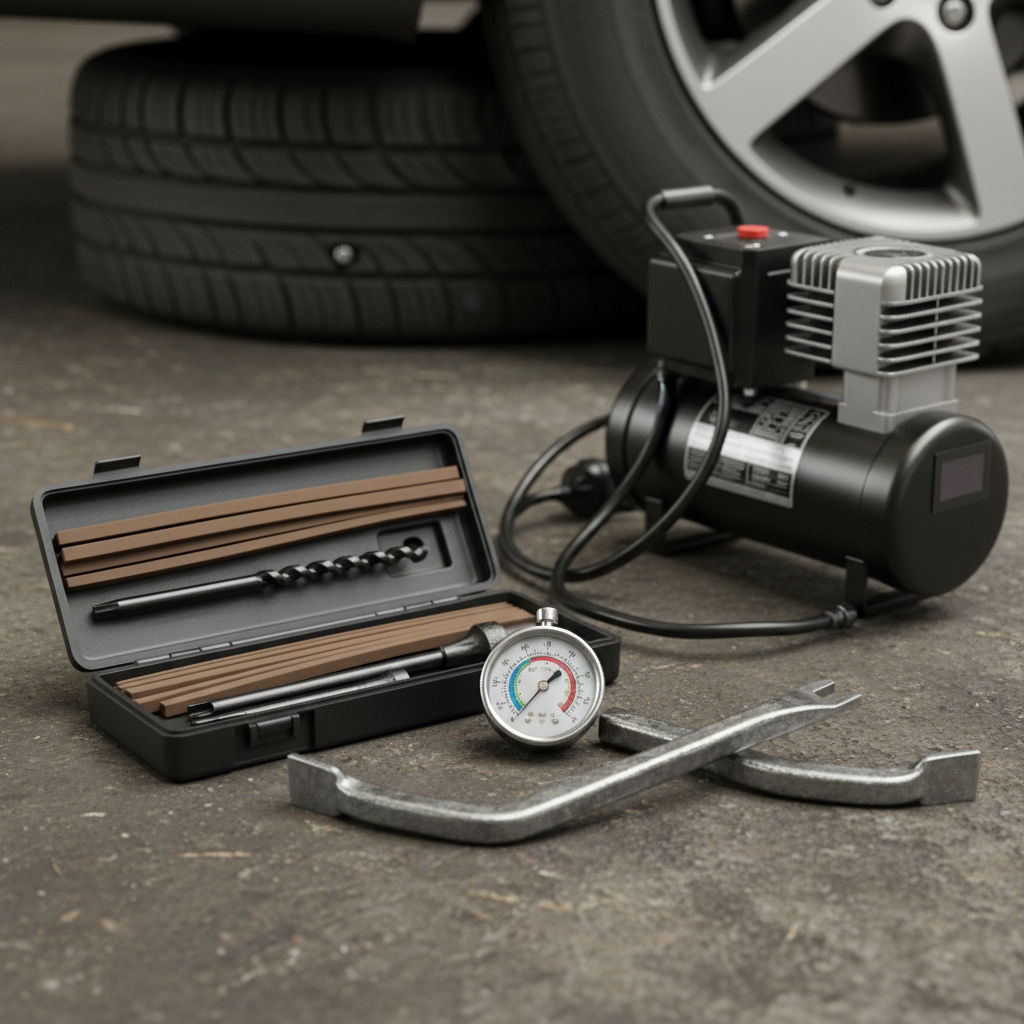
When it comes to repairing a car tyre puncture, having the right tools at your disposal is crucial. Essential tools every driver should have include a tyre pressure gauge, puncture repair kit, tyre levers, and a portable air compressor. A tyre pressure gauge ensures that your tyre is inflated to the correct pressure, helping to prevent further damage. The puncture repair kit typically comes with plugs or patches, allowing you to seal leaks quickly and effectively.
Tips: Always check your repair kit before a long journey to ensure all components are in good condition. Invest in high-quality tools as they can make the difference between a quick, hassle-free repair and a frustrating situation on the road. Don’t forget a sturdy flashlight, just in case you need to work on a puncture in low light conditions.
Another must-have tool is a jack, which allows you to lift the vehicle safely to access the damaged tyre. Familiarize yourself with your car's specific jacking points, as this knowledge can save you time and prevent injury. Remember, having these essential tools can empower drivers to handle unexpected punctures with confidence.
Understanding Common Tyre Puncture Causes: Statistics and Prevention Tips
Tyre punctures are a common concern for drivers, with studies indicating that about 20% of vehicles experience at least one flat tyre annually. According to the American Automobile Association (AAA), the leading causes of tyre punctures include sharp objects like nails and glass, as well as natural wear and tear. Proper maintenance and awareness can significantly reduce the likelihood of such incidents. Regularly inspecting your tyres for damage and ensuring they are properly inflated are simple yet effective prevention strategies that can prolong their lifespan and enhance safety on the road.
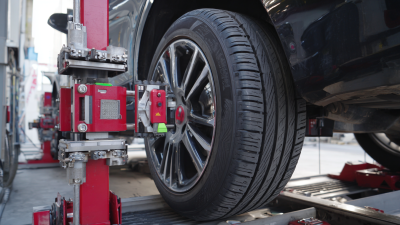
One vital tip for motorists is to routinely check the tread depth of your tyres. The National Highway Traffic Safety Administration (NHTSA) recommends using the penny test: insert a penny into the tread; if you can see the top of Lincoln's head, it's time for a replacement. Another essential practice is to ensure that your tyres are aligned and balanced correctly, as misalignment can lead to uneven wear and increases the risk of punctures. Finally, consider investing in puncture-resistant tyres, which can offer added protection against sharp objects on the road and ultimately save you from the hassle of frequent repairs.
Causes of Car Tyre Punctures and Their Frequency
Step-by-Step Guide to Identifying the Location of a Tyre Puncture
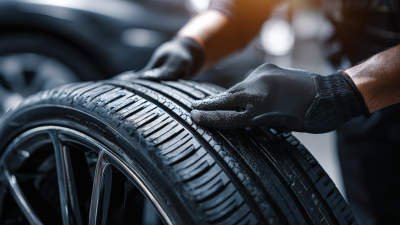
Identifying the location of a tyre puncture is the first and crucial step in repairing it. Begin by inspecting the tyre visually for any obvious signs of damage, such as nails, screws, or foreign objects embedded in the rubber. Rotate the tyre slowly while examining the tread and sidewalls closely to catch any small punctures that may not be immediately noticeable. Pay attention to any hissing sounds, as they may indicate air escaping from the tyre, pointing you towards the damaged area.
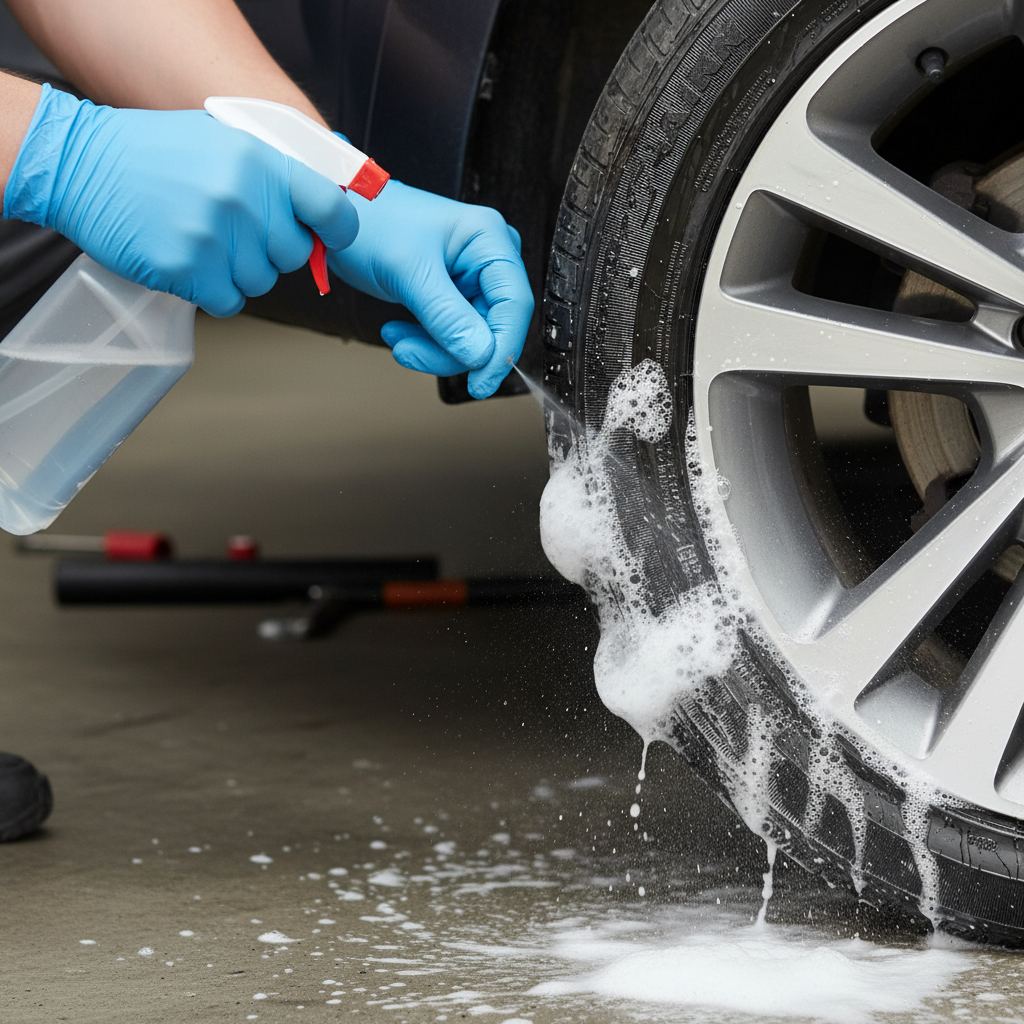
Once you have completed your visual inspection, it’s time to conduct a more thorough assessment. Submerge the tyre in water or spray soapy water over its surface; watch for bubbling in the spots where air is leaking. This method can help pinpoint tiny punctures that might have been missed during the initial inspection. Additionally, check the valve stem for any leaks, as they are common culprits in tyre punctures. Once you’ve identified the location, mark it clearly so that you can easily find it when you're ready to carry out the repair.
DIY Tyre Repair Techniques: Cost-Effective Solutions vs. Professional Services
When faced with a punctured tyre, drivers often weigh the cost-effectiveness of DIY tyre repair techniques against the reliability of professional services. DIY methods, such as using tyre plugs or sealants, can be quick fixes that save money. However, these solutions may not provide the same long-term durability as a professional repair. It's essential to assess the severity of the puncture and the condition of the tyre before deciding on a DIY approach.
Tips for DIY Repairs: Always keep a tyre repair kit in your vehicle. This kit should include items like a plug insertion tool, rubber cement, and a valve core removal tool. Ensure the area around the puncture is clean before inserting the plug, as dirt can hinder the sealing process. Additionally, regularly inspecting your tyres for signs of wear can help prevent punctures and ensure your safety on the road.
While DIY techniques can be appealing, professional services offer thorough inspections and repairs that can restore tyre integrity. If you are uncertain about the repair process or if the tyre damage is extensive, seeking expert help is often the safer choice to avoid future issues.
Safety Precautions to Take When Repairing a Tyre: Industry Recommendations
When it comes to repairing a car tyre puncture, safety should be the foremost consideration. According to the Tire Industry Association, improper handling of tyre repairs can lead to dangerous blowouts, increasing the risk of accidents on the road. It is essential to ensure the vehicle is parked on a flat surface, far from traffic, and using hazard lights to alert other drivers. Wearing gloves and safety goggles is also recommended to protect against potential injury from sharp objects or debris.
Furthermore, utilizing correct tools and methods is critical in maintaining the integrity of the tyre. The Rubber Manufacturers Association states that approximately 95% of punctures can be repaired effectively, provided that the right precautions are taken. Drivers should carry a tyre repair kit that includes a sealant, a plug, and the necessary tools for a safe fix. It is also advisable to check the tyre pressure regularly and inspect for any signs of wear or damage, as tyre malfunctions are one of the leading causes of road accidents, accounting for up to 30% of such incidents annually. Prioritizing safety measures not only ensures a successful repair but also enhances overall road safety.
How to Easily Repair a Car Tyre Puncture: Step-by-Step Guide for Drivers - Safety Precautions to Take When Repairing a Tyre: Industry Recommendations
| Step |
Action |
Tools Required |
Safety Precautions |
| 1 |
Locate the Puncture |
Tyre pressure gauge |
Wear gloves to protect hands |
| 2 |
Remove the Tyre |
Jack, lug wrench |
Ensure vehicle is on stable ground |
| 3 |
Inspect the Damage |
Flashlight, tyre inspection tool |
Check for sharp objects |
| 4 |
Prepare the Tyre for Repair |
Patching kit, rasp tool |
Use eye protection |
| 5 |
Apply the Patch |
Tyre patch, adhesive |
Avoid skin contact with adhesive |
| 6 |
Reinstall the Tyre |
Lug wrench |
Ensure bolts are tightened properly |
| 7 |
Inflate the Tyre |
Air compressor |
Check recommended pressure levels |
| 8 |
Final Inspection |
Visual Inspection |
Check for leaks |